
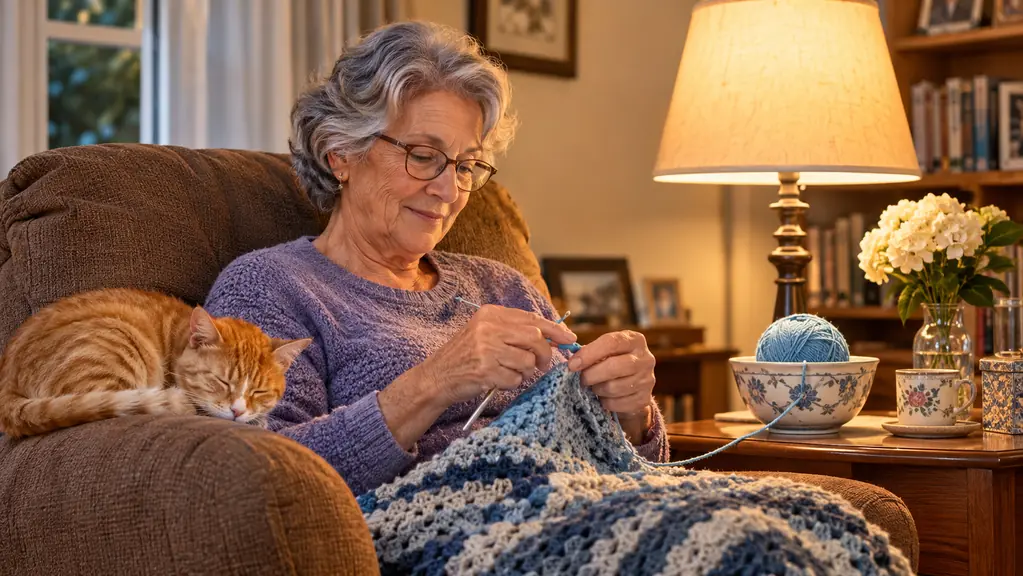
The first sign was the count. I used to crochet through two episodes of a show without thinking about my hands. Then, around the time I turned 60, I started noticing my right thumb after about twenty minutes. By the end of a baby blanket session, I would be crocheting with my thumb pressed flat against the hook, trying to find an angle that did not ache.
I am Rosalind Brackett. I learned to crochet on my grandmother's lap at age nine, and I picked it back up seriously about six years ago, after I retired from the school library in Wichita Falls. I make baby blankets, granny-square throws, dishcloths, and the occasional amigurumi for my grandchildren, plus hats for the hospital charity drive. Giving that up was not on the table. So I started testing what actually let me crochet longer with a cranky right thumb. The Yarniss ergonomic hook set ended up in my den, and it is the reason I can still finish a hat in one sitting.
Start with a hook that does not fight your hand
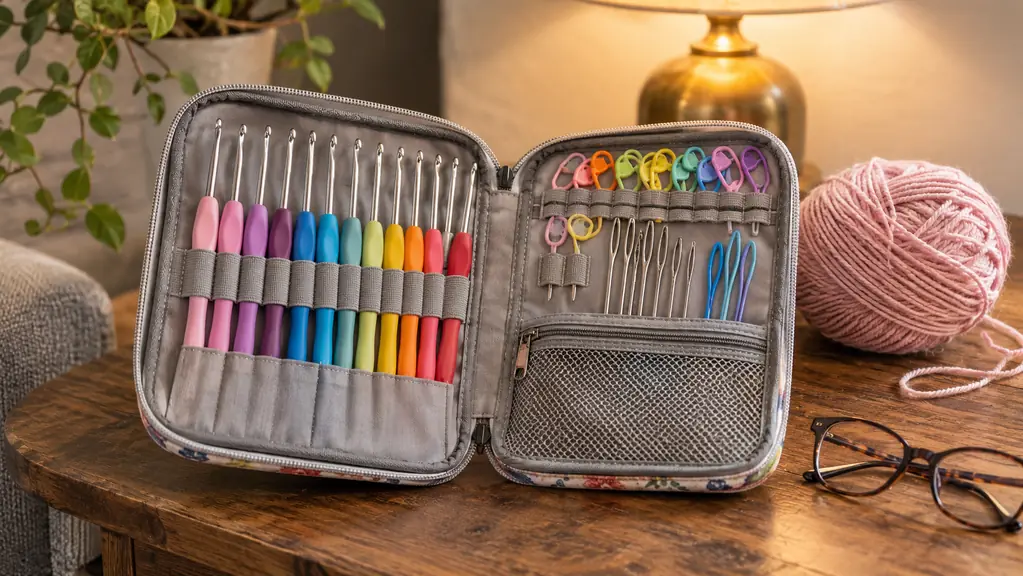
The Yarniss set has 20 hooks from 0.5mm to 10mm, silicone handles on every one, and color coded sizes so you can grab the right hook without hunting. It is the one change that let me crochet through a full evening again.
Amazon Check Today's Price on Amazon →Why I Stopped Blaming My Arthritis and Started Changing My Setup
Here is what I learned the slow way. My thumb was not the whole problem. The way I held the hook, the size of the hook, the tension in my shoulders, and the fact that I would crochet until something hurt, all of it was stacking on top of the arthritis. Fixing the tool and the routine fixed more than I expected. The Yarniss hooks are part of that, but they are only part. The five steps below are in the order I would do them if I were starting over.
Step 1: Loosen Your Grip Before You Pick Up the Hook
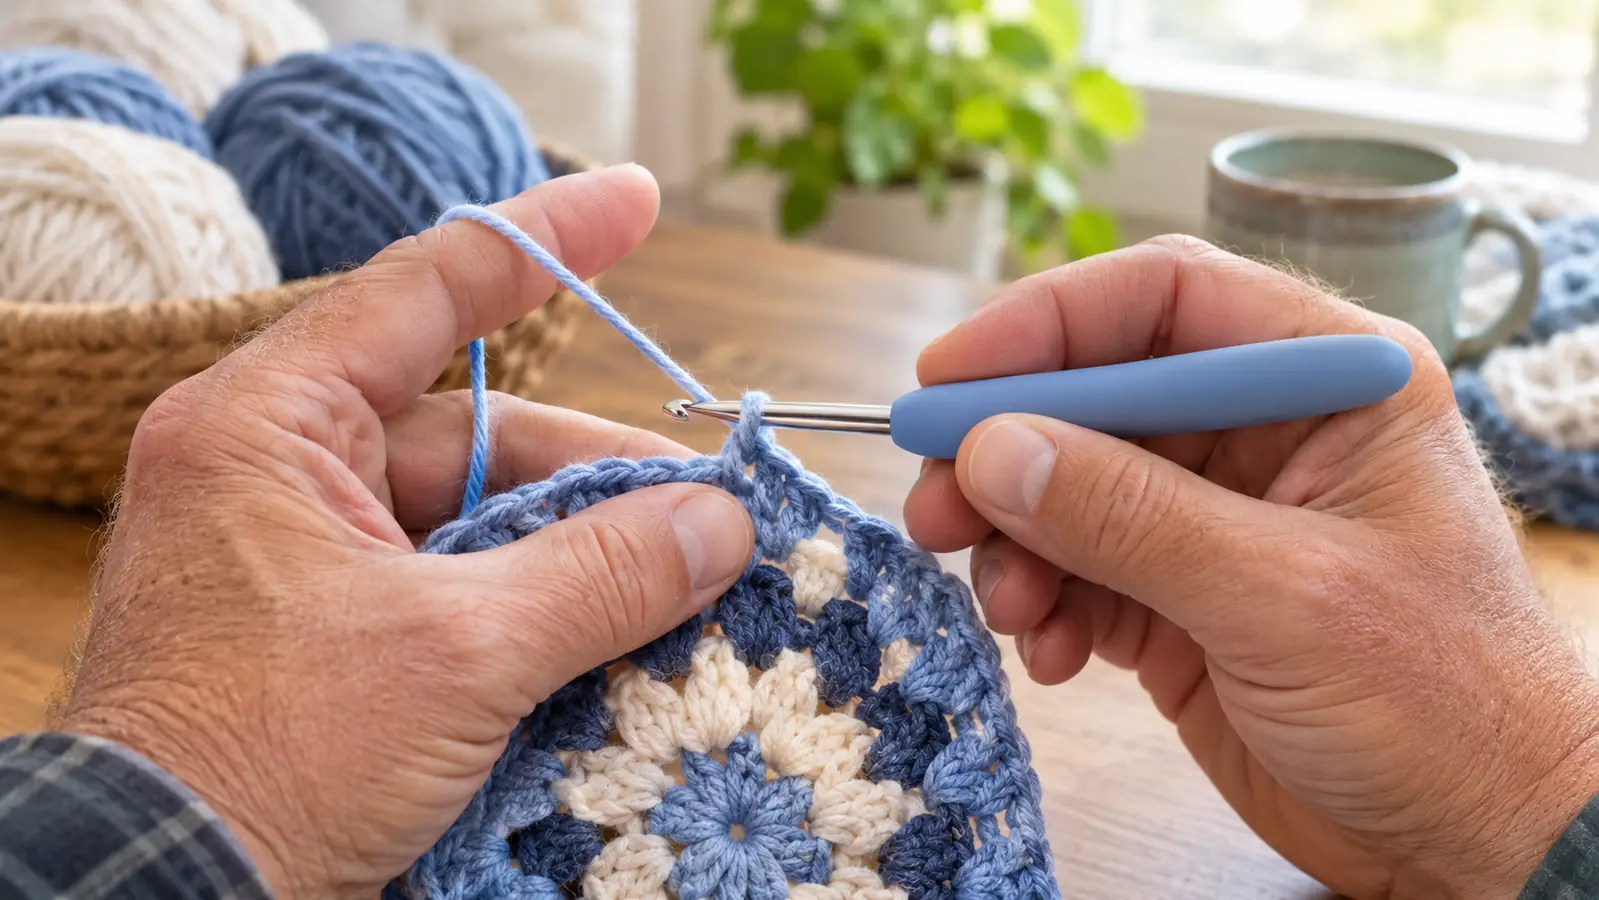
The biggest change was the simplest: I stopped strangling the hook. Years of crocheting had trained me to hold the hook like it might escape. That death grip puts all the pressure on the base of the thumb, which is exactly where my arthritis lives. The first thing I do now is shake out my hands, then pick up the hook with a grip light enough that I could slide the hook out of my fingers if I tried. The hook should feel like it is resting in the web of my hand, not clamped there.
This sounds like advice you have heard before, but the Yarniss hooks made it easier to actually follow. The silicone handle is soft enough that I do not need to squeeze to keep control. With a bare metal hook, I was always re-gripping. With the silicone, the hook stays put with a relaxed hand, and my thumb stops doing the job of a clamp. I still catch myself tightening up when I am on a tricky row, but I notice it now, and I loosen back off.
If you want to feel the difference, try this. Crochet one row holding the hook the way you always have, then stop, shake out your hand, and crochet the next row with the lightest grip you can manage. The stitches will look the same. Your thumb will not. That single experiment convinced me faster than any article, and it is why I tell my yarn circle friends to fix their grip before they spend money on anything else.
Step 2: Match the Hook to the Yarn, Not the Pattern
Most of us grab whatever hook is closest. When I switched to the Yarniss set, I started actually matching the hook to the yarn, and it changed how long I could work. A hook that is too small for the yarn makes you pull every stitch tight, which means your thumb does extra work on every single loop. A hook that is too big makes loose, uneven stitches that you will want to frog, and frogging is its own kind of hand fatigue.
The Yarniss set has 20 sizes from 0.5mm to 10mm, with the ten lace hooks from 0.5mm to 2.75mm in one group and the ten ergonomic hooks in the other. Each hook is color coded and printed with its size, so I can find the right one without putting on my reading glasses and squinting at a number stamped on the shaft. That sounds like a small thing, but when you switch hooks three times in one project, it saves your hands a lot of fiddling.
One warning about lace hooks. The ten smallest sizes from 0.5mm to 2.75mm are for fine thread and doily work, and they are not what I reach for on a sore day. When my thumb is acting up, I pick a larger hook and a heavier yarn on purpose, because bigger stitches mean fewer stitches per inch and less work for my hand. Save the lace hooks for the days when you feel good and you want the delicate stuff.
Step 3: Let the Chair Do the Holding
Here is the step nobody told me about. Most of the tension in my thumb was coming from my shoulder and my forearm. I crochet in a recliner in the den, and for years I held my arms out in front of me with no support. By the time my thumb ached, my whole right side was tired. Now I set a pillow on the arm of the recliner and rest my forearm on it so the hook sits at chest height without me holding it up. The floor lamp goes on the side table, and the yarn sits in a bowl beside me.
When your forearm is supported, your thumb stops being the anchor for the whole project. This is free, it takes one minute to set up, and it did more for my crochet time than any tool. I mention it because if you buy the Yarniss set and skip this step, you will still get sore. The hooks make the grip easier, but the chair makes the grip unnecessary. Also, a supported arm means I can crochet with Pickles asleep on my lap, which is the real goal.
The side table matters more than you would think. Mine holds the floor lamp, a mug of tea, and the yarn bowl, all within reach, so I never have to twist or stretch mid-row. Twisting to grab something is another way the shoulder loads up and the thumb pays for it. If your setup makes you reach, change the setup. That is not decorating advice, it is hand advice.
Step 4: Set a Timer and Stop While You Still Want More
The hardest lesson for me was that stopping early is the whole trick. When I first started testing how to crochet longer, I would push until my thumb hurt, then quit for the day. That was backwards. The ache is the signal that I already did too much. Now I set a timer for thirty minutes. When it goes off, I put the hook down, even if I am in the middle of a row. I stretch my fingers, point and flex the thumb a few times, and walk to the kitchen for water.
The strange part is that stopping at thirty minutes means I can do two or three sessions in a day, which is more total crocheting than I used to get from one long, painful evening. My grandmother would have called this common sense, but I had to learn it at sixty-three. The Yarniss case helps here too, because it keeps every hook, the six yarn needles, the scissors, and the stitch markers in one place. Putting the project away takes ten seconds, so I actually do it instead of leaving everything out and telling myself I will stop after one more row.
I keep the timer on my phone, but the important part is that I honor it. The first few weeks, I would tell myself the timer was just a suggestion and keep going, and my thumb would remind me why that was a bad idea the next morning. Now I treat the timer like a pattern instruction: when it goes off, I finish the stitch I am on and stop. It feels stingy at first. It is the reason I still crochet at all.
Step 5: Make the Stitch Do Less Work
The last step is about technique, and it took me the longest to trust. Looser tension is not sloppy tension. When I relaxed my stitches, especially on single crochet, my thumb stopped doing that little extra tug on every loop. I also stopped yanking the yarn tight after each stitch. The hook should glide through the loop, and the yarn should feed through my fingers without me pulling it. This felt wrong for about a week, and then it felt like the only way to crochet.
The Yarniss hooks help here because the silicone handle gives me traction without a tight grip, and the whole set weighs about 0.46 kg, so my hand is not fighting the tool. I know a full set of twenty hooks sounds like more than anyone needs, but that is exactly why it works for an arthritic thumb: I always have the right size, so I never force a hook through a tight stitch. The hooks are color coded, so switching sizes mid-project takes seconds, and the case keeps the set together instead of scattered across the den.
One more thing about tension. It is not just your hands. I hold my breath when I am concentrating, and a tight jaw and tight shoulders follow. When I notice my shoulders creeping up toward my ears, I drop them and exhale. Relaxed shoulders mean a relaxed arm, and a relaxed arm means a relaxed thumb. It sounds like yoga talk, but it is just crochet.
What Else Helps
The Yarniss set is the tool I reach for, but three other things earn their place in my routine. First, I keep my hands warm before I start; a few minutes with a mug of tea makes the first rows easier. Second, I switch projects when my hand gets bored, which sounds odd, but alternating between a tight amigurumi round and a loose granny square changes which muscles do the work. Third, I use stitch markers far more than I used to, because counting and re-counting makes me tense up, and tension is the enemy.
I also want to be honest about limits. No hook will make arthritis disappear, and I am not a doctor, so check with yours before you take any of this as medical advice. What I can tell you is that these five steps took me from about twenty minutes of crocheting to a full evening, and the Yarniss hooks are the reason my hand stopped being the first thing to give out. The 90-day manufacturer warranty on the set also made it an easy thing to try, because I knew I could return it if the silicone handle did not suit me.
Stopping at thirty minutes means I get two or three sessions in a day, which is more crocheting than I used to get from one long, painful evening.
The set that let me crochet through an evening again
Twenty color coded hooks from 0.5mm to 10mm, silicone handles, six yarn needles, scissors, stitch markers, and a case that keeps it all together. If your thumb is the reason you stop, this is the place to start.
Amazon Check Today's Price on Amazon →