
Standing in the yarn aisle with no idea what to buy is how most people never start crocheting. You need yarn, a hook, stitch markers, scissors, a tape measure, and a place to keep it all so it does not take over the den. Buy the pieces separately and you will spend an afternoon and more than you planned, and you will still forget something. That is why I tell new crocheters to begin with an all-in-one kit, and the INSCRAFT 113 Piece Crochet Kit is the one I recommend most often.
I learned to crochet at my grandmother's knee when I was nine, and I picked it back up seriously about six years ago, after I retired from the school library in Wichita Falls. Since then I have made baby blankets, granny-square throws, dishcloths, and more amigurumi for my grandchildren than I can count, plus hats for the hospital charity drive. I have also handed this exact kit to three friends who wanted to learn, and all three finished a washcloth before the first weekend was over. I still have the first dishcloth I ever made. It is lumpy and crooked, and I would not trade it for anything. So this is not a review from someone who unboxed it once. This is the path I walk beginners down, step by step.
Everything a beginner needs, in one bag
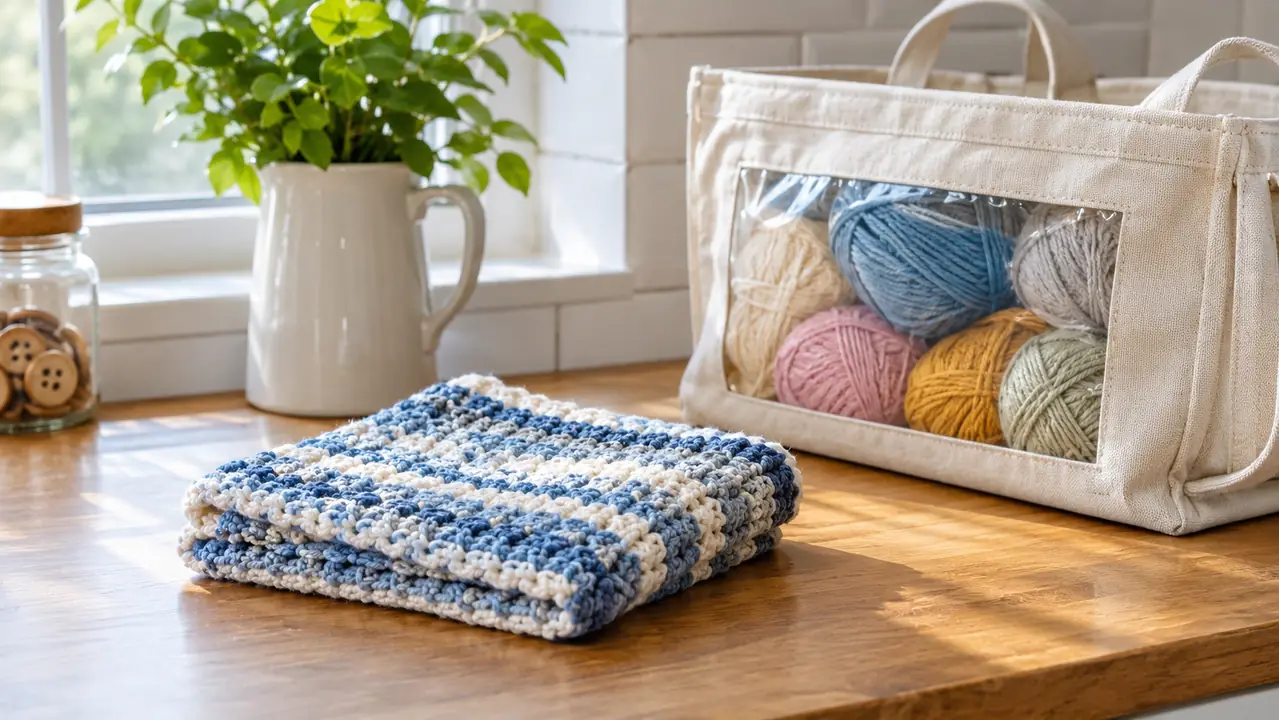
The INSCRAFT kit bundles 40 colors of 100% acrylic yarn, nine ergonomic hooks, ten stitch markers, scissors, a tape measure, and a storage bag with a clear side so you can see what you own. It is the kit I keep on the side table for guests who say they have always wanted to learn.
Amazon Check Today's Price on Amazon →Step 1: Take everything out and see what you own
The first thing to do with any new kit is open it and spread it out. The INSCRAFT kit comes in a storage bag with one transparent side, so you can already see the yarn before you unzip it, but take everything out anyway. Sort the 40 colors of yarn into a row on the couch or the kitchen table. Lay the nine ergonomic hooks beside them. Find the scissors, the tape measure, the three knitting needles, and the ten stitch markers. Count them once so you know what you have.
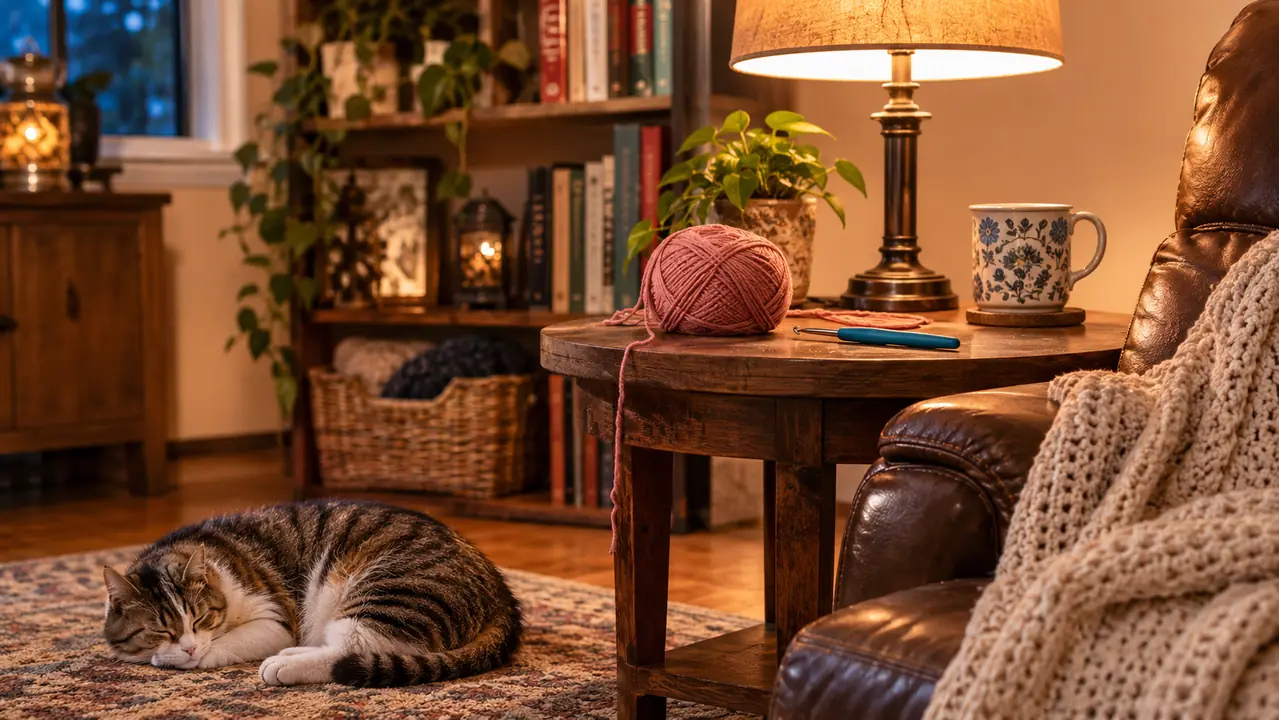
This matters more than it sounds like. Half of learning to crochet is not losing your place, and you cannot keep your place if you are hunting for a stitch marker every ten minutes. Knowing that the markers live in the bag, and the bag lives on the side table by your chair, means you will actually sit down and practice. My own setup is a recliner in the den with a floor lamp, and the kit bag sits right beside it, clear side out, so I can see the color I want before I reach for it.
One note before you start: the kit is not for children twelve and under, so this is an adult project or a supervised teen project. If you are buying it for a grandchild, sit down with them for the first evening. That is honestly the best part anyway.
Step 2: Choose your first project and your first yarn
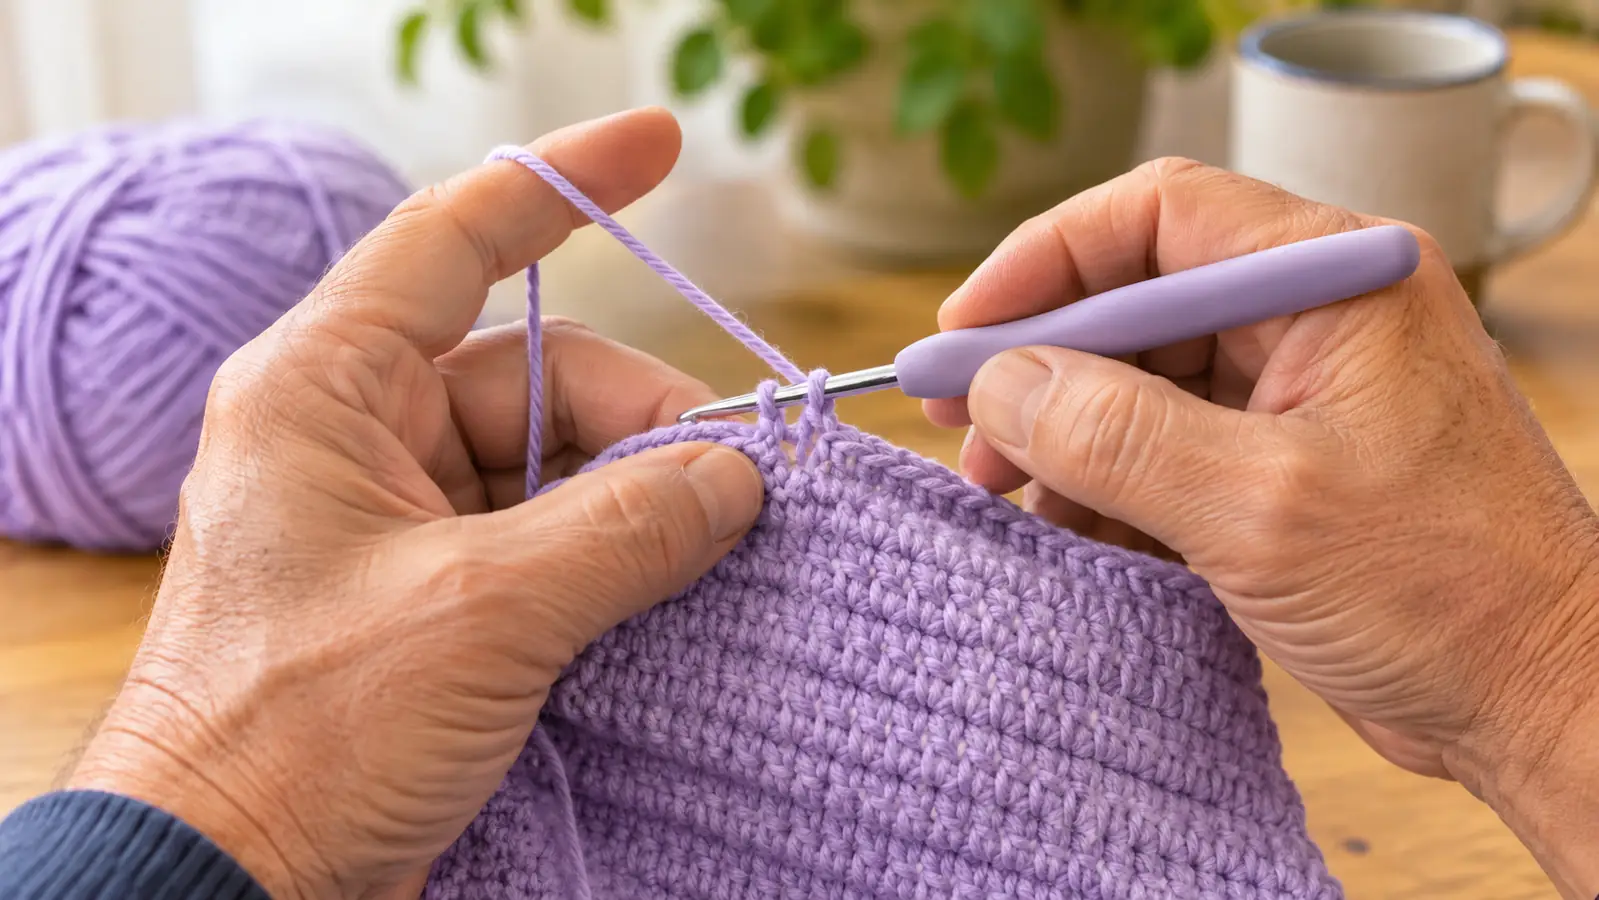
Here is the mistake almost every beginner makes: they start with the project they actually want, like a blanket or a sweater, and they quit by Wednesday. Start smaller. A dishcloth is the perfect first project because it is flat, small, and useful even if it is crooked. You can also make a simple scarf, but a dishcloth is faster and you will finish it, and finishing something matters more than making something perfect.
From the 40 colors in the kit, pick a light one for your first attempt. Light colors show your stitches clearly, and when you are learning, being able to see each stitch is everything. Dark yarn hides mistakes beautifully, which sounds like a feature until you realize you cannot see what you are doing either. Save the dark colors for later, when your hands know the rhythm. You will thank yourself the first time you have to count stitches in bad light.
You will also want to choose a hook that feels good in your hand. The kit's nine hooks are ergonomic, which matters to me because I have mild arthritis in my right thumb. Try a couple of them before you commit. The hook should feel like an extension of your hand, not a tool you are gripping. If your hand cramps in the first ten minutes, switch hooks before you switch hobbies.
Step 3: Learn the slip knot and the foundation chain
Every crochet project starts with a slip knot and a chain. Make a loop with the yarn, pull a loop through it, and tighten it gently onto the hook. That is the slip knot. Then wrap the yarn over the hook and pull it through the loop on the hook. That is one chain. Do it again, and again, and again. The chain is the foundation row, and it should be loose enough that your hook slides through the top of each stitch without tugging. Think of it as tying your shoes: clumsy at first, automatic by the end of the week.
This is the step where most beginners decide they are bad at crochet, and they are wrong. Your first chains will be tight and lumpy. Mine were. My grandmother used to make me chain an entire ball of yarn before she let me do anything else, and I thought she was being cruel. She was not. Chaining builds the muscle memory in your hands, and the tension in your yarn, that everything else depends on.
Here is a trick: chain until the row is a little wider than you want the finished piece to be, because crochet pulls in as you work the rows. Then stop, look at the chain, and chain some more. When the chain looks even, with each stitch the same size as the one before it, you are ready for the next step. If it does not look even, that is fine. Pull it out and start again. Frogging, we call it, because rip it, rip it, rip it. Every crocheter does it, even after thirty years. And if you need to put the work down and walk away for a day, do that too. The yarn will still be there in the morning.
Step 4: Practice single crochet until it feels like a rhythm
Single crochet is the first real stitch, and it is the one that builds the dishcloth. Insert the hook into the second chain from the hook, yarn over, pull up a loop. You now have two loops on the hook. Yarn over again and pull through both loops. That is one single crochet. Move to the next chain and do it again. The motion is the same every time, and that sameness is the whole point.
Work a row of single crochet, then chain one and turn your work. The chain one is the turning chain, and it keeps the edge from pulling in. Work back across the row, one single crochet in every stitch below. When you reach the end, chain one, turn, and go again. You are making a rectangle, and a rectangle is a dishcloth, and a dishcloth is a finished project.
This is where the stitch markers earn their keep. Put one every ten stitches so you can count without losing your place, especially when the phone rings or the cat decides the yarn tail is a toy. My orange tabby, Pickles, has chased more yarn tails than I can count, and the stitch markers are the reason I can put the work down, rescue the yarn, and pick up exactly where I was. Moving them up as the rows grow takes seconds.
Step 5: Finish off, weave in the ends, and make another one
When your rectangle is as big as you want it, finish off. Cut the yarn with the scissors from the kit, leaving a tail a few inches long. Pull the tail through the last loop on the hook and tighten it. That is the finish, and it takes ten seconds. Then turn the work over and use your hook to tuck the loose tail back through a few stitches on the wrong side, pulling it gently so it disappears. If the tail is stubborn, that just means your stitches are snug.
Weaving in ends is the least glamorous part of crochet, and it is also the difference between a gift and a project. A dishcloth with a loose tail will unravel in the wash, and nobody wants to give a grandchild a washcloth that is really a ball of yarn again. Take the extra two minutes. Your future self, running the charity hat table at the hospital, will thank you.
Then wash the dishcloth, lay it flat to dry, and look at what you made. It will not be perfect. It will be slightly trapezoidal and the edges will wave a little. Make another one anyway. The second will be straighter, and the third will be one you would actually gift. The kit has 1600 yards of yarn across 40 colors, which is enough to make that third one, and a fourth, and a hat for the drive, and still have yarn left over for a granny square or two. You will be surprised how quickly the second one goes, because your hands remember the rhythm even when your head does not.
What Else Helps
Beyond the kit itself, three things make the first week easier. Good light, which is why I crochet in the den under the floor lamp instead of in front of the television. A flat surface to spread out your work, even if it is just the kitchen table for ten minutes. And a willingness to pull out rows that are wrong instead of staring at them hoping they fix themselves. The yarn does not care how many times you frog it. The INSCRAFT kit uses 100% acrylic yarn, which is forgiving, and it holds up to being pulled out and reworked again and again.
You will also want a simple pattern or a video to follow for your second project, because the kit does not include patterns, and learning to read a pattern is a skill of its own. Start with something that uses only single crochet, then try double crochet, then a granny square, then the amigurumi that every grandparent ends up making. The hooks and yarn in this kit will carry you through all of it. When you outgrow it, you will know exactly what you want to buy next, and you will not waste money guessing.
Finally, find a place to store the kit where the cat cannot reach it. I say this from experience. Pickles, my seven-year-old orange tabby, considers any loose yarn tail a personal invitation, and a ball of yarn rolling across the den floor is the highlight of his day. When I am not using the yarn, it goes back in the storage bag, and the transparent side lets me see the color I want without dumping everything out. A bag that keeps the yarn together is a peaceful bag.
One more thing: tell someone what you are doing. Crochet is a quiet hobby, but it does not have to be a lonely one. The ladies at my church circle have taught me more than any book, and a beginner who says 'I am making a dishcloth' will get more encouragement than a beginner who says nothing. If you do not have a circle, a grandchild who wants to learn is the best excuse there is to sit down and practice together.
Three friends started with this exact kit, and all three finished a washcloth before the first weekend was over.
Your first dishcloth is one evening away
Pick a light color from the kit, find a hook that feels good in your hand, and chain until it feels natural. By the time you finish the first washcloth, you will know whether crochet is for you, and you will have spent an evening finding out instead of a month wondering.
Amazon Check Today's Price on Amazon →